

AFK Journey is a vivid inactive game where players embark on a chivalrous adventure without the requirement for constant attention. Choosing the right server is crucial for a seamless gaming experience, as it determines the local area you’ll interact with and the gameplay climate you’ll navigate.

The Importance of Choosing the Right Server
Selecting the appropriate server in AFK Journey can significantly impact your gaming journey. Each server may have its novel player base, economy, and local area dynamics, influencing your gameplay style and social interactions within the game.
How to Check Your Current Server
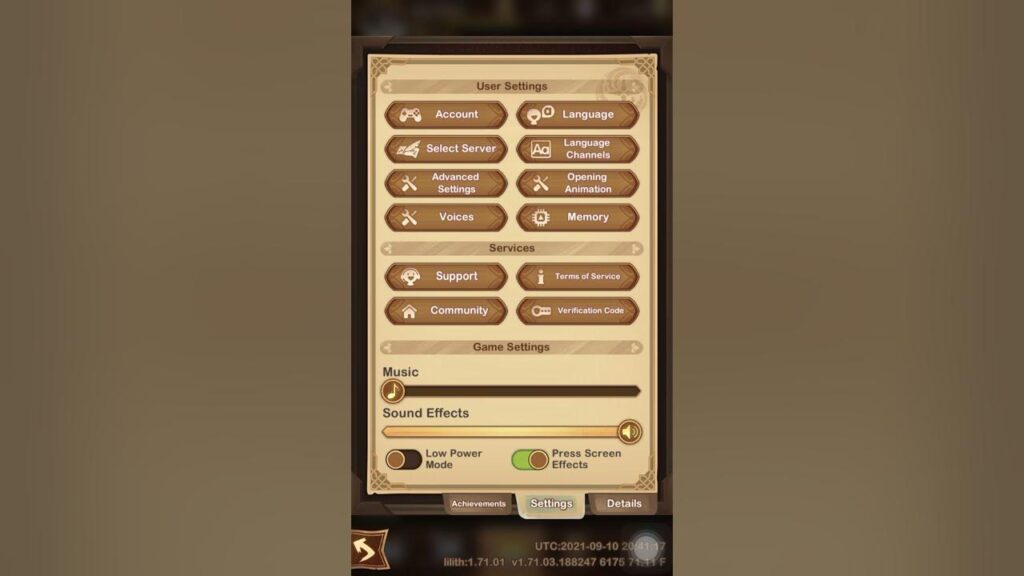
Access the Server Menu: Navigate to the game settings or choices menu within AFK Journey.
Locate Server Information: Search for a part labeled “Server” or “Server Info” to see details about your current server.
Check Server Name and Area: Note the server name and district displayed to recognize your current server.
Reasons to Switch Servers
There are several reasons why players may think about switching servers in AFK Journey:
Playing with Companions: Joining a server where your companions are playing can enhance your gaming experience through collaboration and camaraderie.
Better People group Dynamics: In the event that you experience toxicity or unpleasant behavior on your current server, switching to an alternate one with a more certain local area atmosphere may be beneficial.
Exploring New Challenges: A few servers may offer interesting occasions, challenges, or gameplay features that you want to experience firsthand.
Steps to Switch Servers in AFK Journey
Access Server Determination: Return to the server menu or settings area in AFK Journey.
Investigate Available Servers: Peruse the rundown of available servers to find one that suits your inclinations.
Select Wanted Server: Snap or tap on the server name to initiate the switching system.
Affirm Switch: Adhere to any prompts or instructions gave to affirm your choice to switch servers.
Wait for Transfer: Depending on the game’s mechanics, you may have to wait for a short period while your account data is transferred to the new server.
Investigate Your New Server: When the transfer is finished, start exploring your new server and interacting with its local area.
Tips for a Smooth Server Switch Experience
Research Server Choices: Take time to research various servers and their characteristics before making a choice.
Coordinate with Companions: Coordinate server switches with companions or guildmates to guarantee a smooth transition and maintain social associations.
Stay Informed: Watch out for official announcements or local area forums for updates on server maintenance or migrations.
Conclusion
Choosing the right server in AFK Journey is essential for optimizing your gaming experience and enjoying the adventure to its fullest. By understanding how to check your current server, reasons to switch, and the steps involved in switching servers, you can navigate the game world with certainty and embark on an unforgettable journey with individual players.