

This article is about How to Find Destiny 2 Concealed Void Lost Sector. Destiny 2: Beyond Light has brought a couple new optimistic exercises for PvE players to dominate. Other than the new assault, Bungie has added Season of the Worthy’s Legendary Lost Sectors to Europa and the Cosmodrome as a method for getting space explicit Exotic covering.
Six Lost Sectors as of now support Legend and Master variations, Concealed Void being one of them. This Lost Sector is one of the more troublesome ones because of the situation of Champions. With the right form, this Lost Sector turns out to be a lot simpler to cultivate. For those chasing the ideal Exotic shield roll, here is a finished manual for finishing the Concealed Void Master Lost Sector in Destiny 2.
Modifiers And Recommended Loadout
Other than turning Master modifiers like Famine and Attrition, here are the key modifiers you can anticipate when getting out the Concealed Void Lost Sector:
Key Modifiers:
- Shields: Solar (Heavy Shanks) and Void (Servitors)
- Champions: Barrier and Overload
- Destination Modifiers: +Arc and aerial damage taken
- Faction Modifier: Scorched Earth (enemies throw grenades more often)
Disguised Void has a combination of sightlines that can make picking a loadout rather troublesome. Either a Pulse or Scout Rifle is prescribed to kill focuses from a good ways. With respect to your Exotic, Anarchy works best since it can securely be applied to foes from a good ways. Xenophage works here but not too because of ammunition proficiency. In the event that you choose to utilize Xenophage, prepare the Wrath of Rasputin Mod so it can produce Warmind Cells on kill.
Subclass
- Hunter: Revenant is fantastic for freezing Champions and harder rivals. Method of the Pathfinder is additionally a strong decision in case you’re seriously underleveled.
- Warlock: Attunement of Chaos with Contraverse Hold is an extraordinary pick. Cheat your explosive prior to tossing it to give some genuine harm. Attunement of Grace is likewise a decent decision.
- Titan: Code of the Siegebreaker can bargain an astonishing measure of harm with its Sunspots while likewise giving a harm and capacity recovery reward.
Weapons
- Anarchy: The best Heavy weapon Exotic for this Lost Sector. Incredible harm yield that can be applied from a protected distance makes this weapon an easy decision. It likewise makes the last supervisor a lot simpler to kill.
- Xenophage: A strong other option on the off chance that you don’t claim Anarchy. It can deal with Heavy Shanks, Champions, and produce Warmind Cells in the event that you have the Wrath of Rasputin Mod. Simply watch out for your ammunition.
- Solar Primary: Use a Solar Primary in the event that you intend to utilize Anarchy. Stars in Shadow, Death Adder, and Trustee are acceptable alternatives.
- IKELOS_SMG_v1.0.2: Arguably the best Primary in the game at present. Utilize this in case you’re running Xenophage. This firearm bargains incredible harm and can create Warmind Cells.
Mods
- Protective Light: A half harm obstruction buff in the wake of losing your safeguards is a lifeline in any hard PvE action. Pair this with Taking Charge to get the impact.
- Worldwide Reach: Makes Warmind Cells cover a lot bigger range and arrangement expanded harm.
- Wrath of Rasputin: An absolute necessity in case you’re running Xenophage, permitting that weapon to generate Warmind Cells.
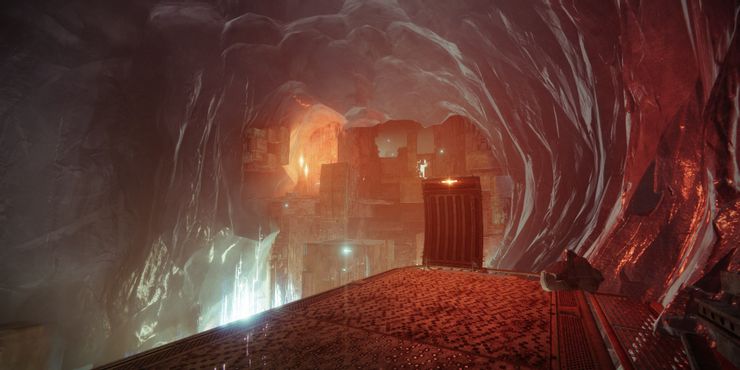
Detailed Guide: Room 1
First Room Enemies
- One Overload Captain
- One Barrier Servitor
- One Heavy Shank
- Two Vandals
- Dregs
- Shanks
Seemingly the hardest piece of Concealed Void is the principal room. Surge towards the initial two Fallen Dregs and bring them down. A Shank and Dreg will be before you, which are typically joined by an Overload Captain following a couple of moments.
Utilize this chance to disturb the Overload Champion and bring them down. In the event that the Overload Captain will not raise it’s anything but, a couple of slugs on the ground or harm it from the little cut to one side of you.
Push slightly up and take out the two Vandals toward the back. Now, you should trust that the Barrier Servitor will raise itself around a corner or towards a decent vantage point.
Since the Servitor ensures practically every adversary, this is fairly precarious to pull off. The most ideal method of doing this is to kill the two Vandals at the rear of the room so it moves to the rear of the room.
When you have a decent perspective on it, shoot it with Anarchy or Xenophage a couple of times until it sends its safeguards. Sever them and finish it. Obliterate the Heavy Shank and any leftover Shanks toward the edge of the space to continue.
This is by a wide margin the most noticeably terrible piece of the Lost Sector, so take as much time on a case by case basis to securely get this room out.
Related Article: How to Get a Bow in Destiny 2

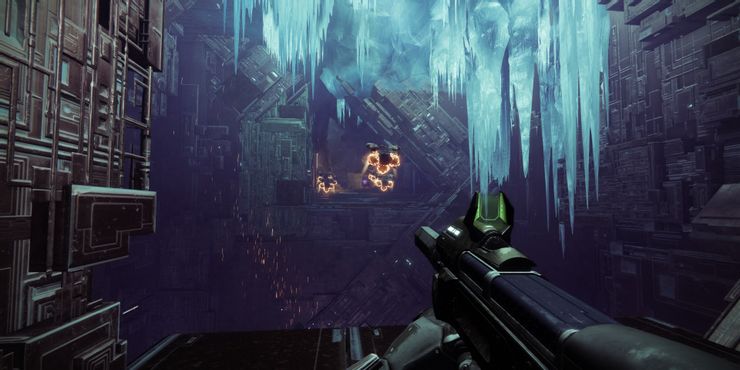
Detailed Guide: Room 2
Second Room Enemies
- Two Overload Captains
- One Barrier Servitor
- One Heavy Shank
- One Vandal
- Shanks
- Dregs
After sliding under the even bar, an unmistakable perspective on the room will uncover a Barrier Servitor to one side and an Overload Champion directly ahead.
Prior to managing any Champions, utilize your Pulse or Scout Rifle to take out whatever number typical adversaries as could be expected under the circumstances. This will make managing the Champions significantly less unpleasant.
On the off chance that you have a reasonable perspective on the Overload Captain, feel free to disturb it and fire two Anarchy bolts onto him or shoot him with Xenophage. Rehash this until he’s crushed. Zero in on the Barrier Servitor next toward the side of the room.
Do likewise as before to the Barrier Champion, obliterating its safeguards depending on the situation. Obliterate any excess red bars in that segment of the room, take out the Heavy Shank from a good ways, then, at that point push up.
The finish of the room will have another Overload Captain and an expert rifleman Vandal. Kill the Vandal at the rear of the room prior to upsetting the Champion.
You can either push up to the Champion and kill him or stay back, pelting away at his wellbeing bar utilizing Anarchy or Xenophage. In any case, kill the two adversaries to eliminate the energy field that prompts the following region.
Detailed Guide: Corridor
Corridor Enemies
- Wretches
- One Overload Captain
- One Barrier Servitor
- Explosive Shanks
A gathering of Wretches will generate once you arrive at this part. Kill them and hop across the hole, generating the two arrangements of Explosive Shanks close to you. Quickly turn around to where the Wretches are and annihilate the multitude of Explosive Shanks. Cross the hole by and by to confront the Barrier and Overload Champion team.
Zero in on bringing down the Barrier Servitor first except if the two Champions are parted from one another. On the off chance that the Overload is giving you inconvenience, shock it just after you break the Servitor’s safeguards to give yourself a couple of moments of space to breathe to harm the Barrier Champion. Kill the two Champions as ordinary before you drop down to the last chief.
Detailed Guide: Boss Arena
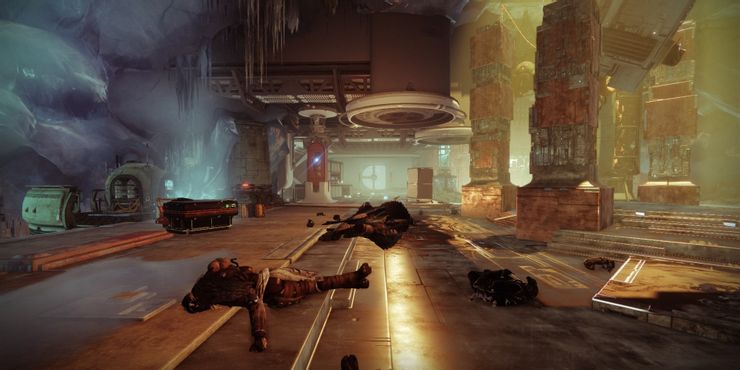
Boss Room Enemies
- One Captain Boss
- Servitors
- Wretches
- Dregs
- Vandals
No Champions exist in the last manager battle. In the event that you have adequate Heavy ammunition, burst down the manager as quick as could really be expected and open the chest to finish a Platinum run. Something else, wait towards the passage of the room and take out the different Fallen that bring forth.
Each time the manager loses 33% of it’s anything but, another flood of Fallen will generate close by a Servitor. These Servitors are fairly intense on the off chance that you don’t have a Void weapon, albeit a very much positioned capacity or Heavy weapon will do the work.
Widdle down the managers’ wellbeing bar until it’s dead. However long you have Heavy ammunition or a Super prepared, this shouldn’t take over a moment. Open the chest to complete the run and guarantee your plunder.